
 Contact

A photo can look fine on a phone or website and still be too small for the size it will print.
Open the upload stepStep-by-step, with the real screens, below.
In short
Check the original image, not a screenshot or downloaded thumbnail. If the image was enlarged substantially in the design, use a larger source file when possible.
L&B targets 300 DPI for photo quality, and the customizer warns or stops you at its lower-DPI thresholds.
Logos and vector artwork behave differently from photos; do not judge them by the same crop/DPI rule.
Where soft images usually come from
- Saved from a website or social media — those are compressed for speed.
- Pulled from an email, which often shrinks attachments.
- A small logo scaled up to fill a large space.
- A screenshot, which is only ever screen resolution.
The file size for each postcard
| Item | Export the file at | Smallest photo or image (300 DPI) |
|---|---|---|
| EDDM 6.25" × 9" | 6.5″ × 9.25″ — the trim plus 0.125″ bleed on every side | 1950 × 2775 pixels |
| EDDM 6" × 11" | 6.25″ × 11.25″ — the trim plus 0.125″ bleed on every side | 1875 × 3375 pixels |
| EDDM 8.5" × 11" | 8.75″ × 11.25″ — the trim plus 0.125″ bleed on every side | 2625 × 3375 pixels |
| Addressed 5" × 7" | 5.25″ × 7.25″ — the trim plus 0.125″ bleed on every side | 1575 × 2175 pixels |
| Addressed 6" × 9" | 6.25″ × 9.25″ — the trim plus 0.125″ bleed on every side | 1875 × 2775 pixels |
Step by step
Step 1: Read which side, and how far below
Under the two upload cards, the amber box Low resolution detected names the side — Front or Back — and the resolution it measured, against the 300 DPI minimum for the Size you chose. On Review Design the same measurement appears as a line beside each side. The further below the minimum, the softer the print.
What you should see. “Front: about … DPI.” or “Back: about … DPI.” in the amber box, and the 300 DPI minimum named beside it.
Step 2: Check the Size, then find the original image
First make sure Size is the postcard the file was made for: a file made for the smallest postcard measures lower on a larger one. Then open the original image — the photo from the camera, the logo from the designer, the export from the design program — and look at its pixel size in its properties. The table above gives the pixels each postcard needs for a full-bleed image; an image used smaller needs proportionally fewer. A copy saved from a website or social media, pulled from an email or taken as a screenshot is nearly always too small, however good it looks on screen.
What you should see. An original file whose pixel size reaches what its printed size needs — or the knowledge that none does.
Step 3: Replace the file
On the upload step, Remove the side the box names and upload the larger file into the same area. The measurement runs again as soon as the file is chosen; when it is above the minimum the amber box disappears, and Review Design shows a green line for that side.
What you should see. No message under the two cards, and on Review Design a green line for each side.
Step 4: If no larger original exists
Enlarging the image in your design program does not add detail. Use it smaller in the layout so it needs fewer pixels, choose another photo, rebuild the logo as vector artwork, or have L&B design the postcard for $195. You can also continue with the file as it is: the box says it may print soft. An L&B Direct Mail Expert reviews every direct-mail file before it goes to print.
What you should see. A decision: a sharper file uploaded, the image used smaller, a different route to the artwork, or the file continued as it is.
If something goes wrong
“Low resolution detected — Front: about … DPI. Your image is below 300 DPI and may appear blurry when printed. You can still continue, but it may print soft. Upload a higher-resolution file if you have one.”
The image has too few pixels for the Size you chose. Find the original photo or export (not a copy from a website, an email or a screenshot), check its pixel size against the table above, and upload the larger file with Remove and then the upload area. If the Size is wrong, change it: the measurement uses the size you chose. If no larger original exists, use the image smaller in the layout, choose another photo, or continue knowing it may print soft.
My artwork looks blurry or pixelated.“… DPI. Below 300 DPI minimum. Image may appear blurry when printed.”
The same measurement, on the Review Design step, side by side. Change Files takes you back to swap the side it names.
“That file type cannot be used for printing. Please send a PDF, JPG, PNG, TIFF or WebP.”
The file is a type the uploader does not take — a .gif, a Word or Pages document, or a design program’s own file such as .ai, .psd or .indd. Export it from the program as one of JPG, PNG, WebP, TIFF, PDF and choose it again with Retry. If you cannot export it, send the file to L&B instead.
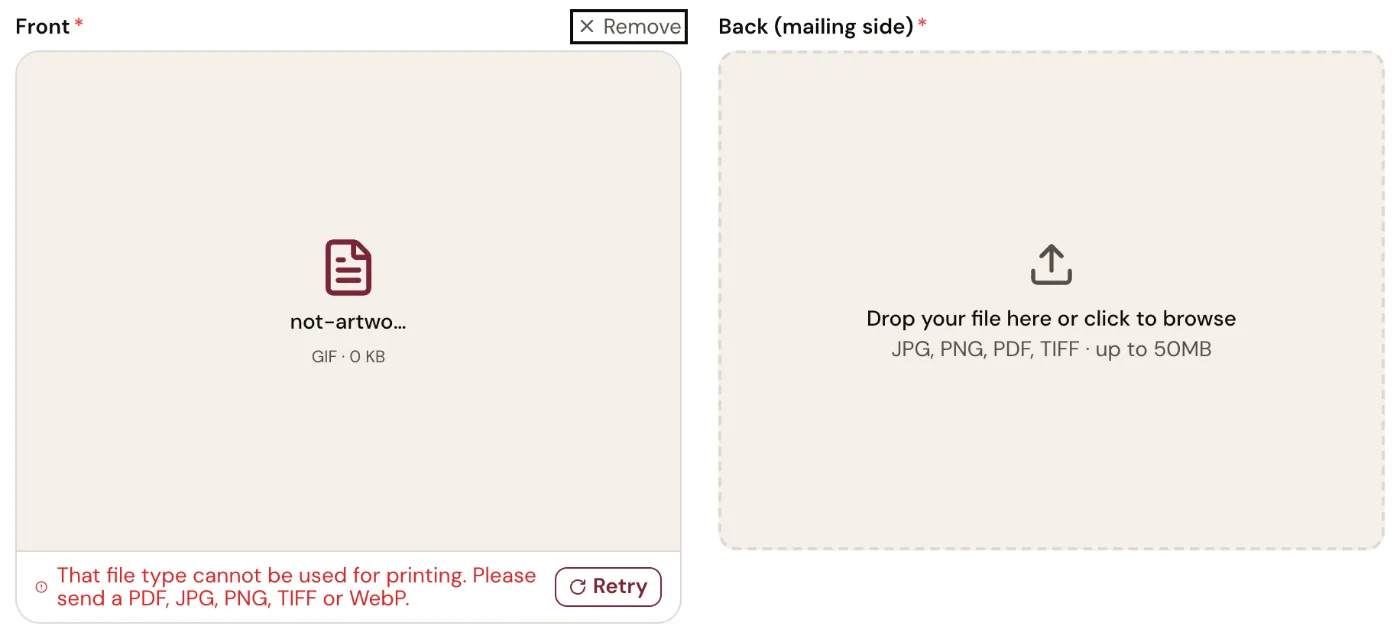
- A: The file you chose
- B: Why it was refused, before any upload
- C: Retry, after you export the right type
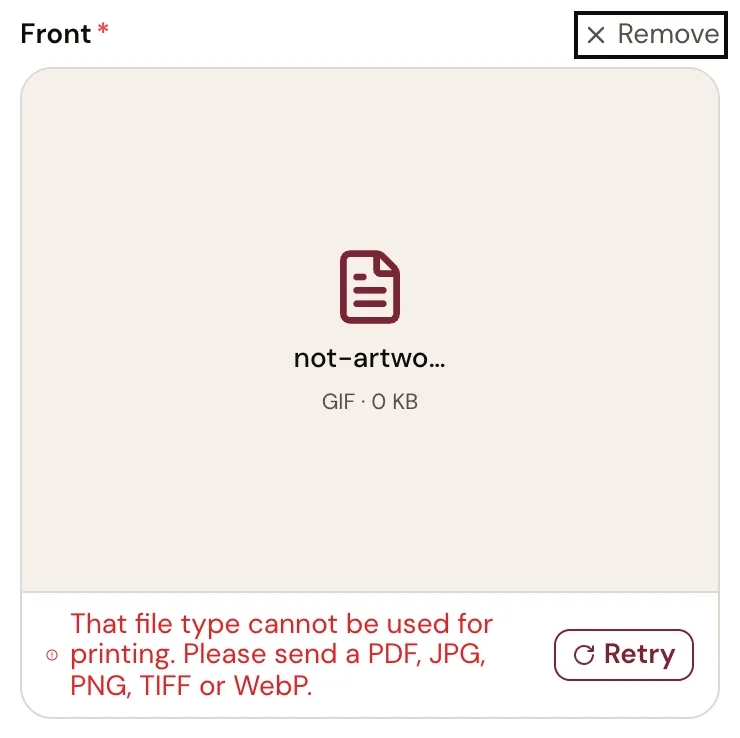
- A: The file you chose
- B: Why it was refused
- C: Retry
“This file is too large to upload (limit 50 MB). Please export a smaller print-ready file, or contact L&B and we can help.”
Export a flattened PDF, or a JPG at 300 DPI at the printed size; turn off “preserve editing capabilities” and embedded thumbnails. A print-ready postcard file is usually well under 50 MB.
“This image is far larger than printing needs. Please send a version around 300 DPI at its printed size, or contact L&B and we can help.”
The image is far beyond what the postcard can use — more than 12,000 pixels on a side, or more than 80 million pixels in all. Export it at 300 DPI at the printed size (the table above gives the pixel size each postcard needs).
“That file does not look like the type it claims to be. Please re-export it and try again.”
The file’s name says one type and its contents another — usually a renamed file. Export it again from the program that made it, with the extension it chooses.
“Your front file is portrait, but this postcard is landscape (…). If that isn't intended, upload a landscape file.”
A note, not a refusal: the file’s long side runs the other way from the postcard’s. If you designed it the other way round on purpose, continue; otherwise rotate or re-export it so the long side is the width, and upload that.
“Add your back design to continue. An EDDM postcard mails from its back.”
An EDDM postcard is two sides: the back carries the USPS postage mark and the “Postal Customer” line, so the order cannot continue with a front alone. Upload the back in its own area.
“Your file didn't upload. Check your connection and try again, or call 908.232.7770.”
The connection dropped before the file arrived; the uploader has already retried a few times. Check that you are online and upload it again. A very large file over a slow connection is the usual cause — a smaller export helps.
“Too many requests. Please try again later.”
Wait a minute, then upload once more.
“This design is already on an order and can no longer be changed. Start a new design to make changes.”
This artwork has already been ordered, so its files are locked. Reload the upload step to start a new design, or contact L&B about the order.
“Missing required fields: file, design_id, field”, “Invalid design_id format — must be a valid UUID” or “Invalid field format”
The page lost track of the design it was building. Reload the upload step and upload the files again.
Next
- Open the upload stepRemove the side it named and upload the larger file.
- What makes a file print-ready, step by stepBleed, trim and safe area, the export, and the whole upload step on the real screens.
- Have L&B Design It · $195If the only artwork you have is too small to print.
- Contact L&BIf you are not sure whether a file will print well.